Young Architect Guide: 5 Tips for Drawing Accurate Architectural Details

The way an architectural structure is detailed can fundamentally impact how we experience a space. From temperature and humidity to air flow and light, details are tied to human comfort. While it may seem like a daunting task, learning to draw accurate architectural details will help you create more contextual, sustainable and human designs.
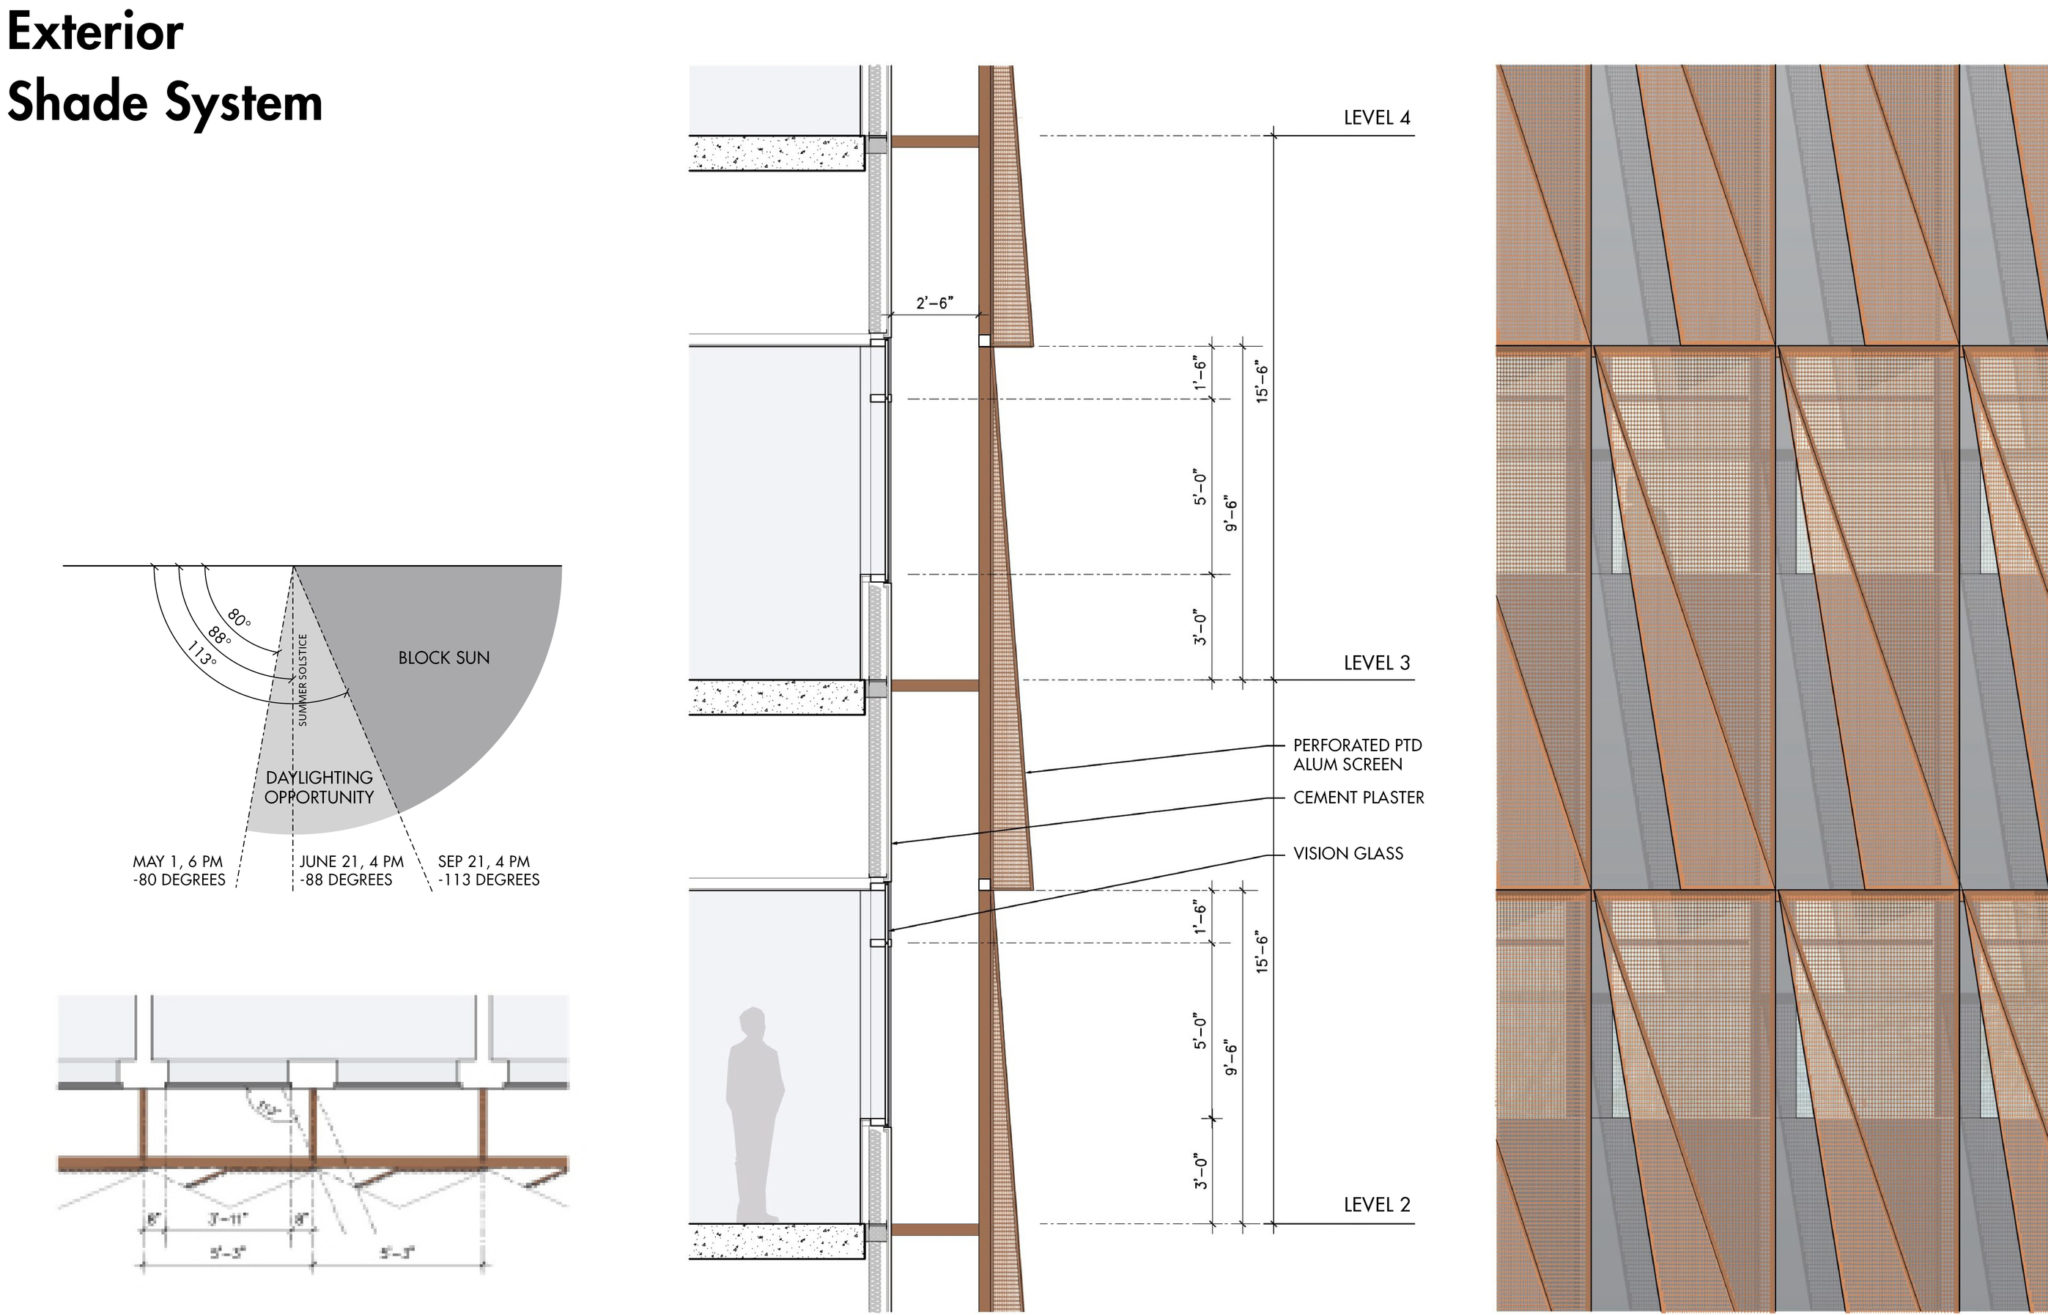
When you’re faced with drawing a detail, you’ve likely arrived at this task after a series of programming and design development decisions. These are great steps that usually help inform the choices you make. For example, if you’re orienting the building to capture views but block direct interior heat gain, you might need to detail glazing with a generous overhang above. Other details will entail careful consideration of wall types and the way each material is fastened together.
The following pointers outline a few ideas to consider as you learn to draw more accurate details.
 ,
, 
1. Study Existing Precedents
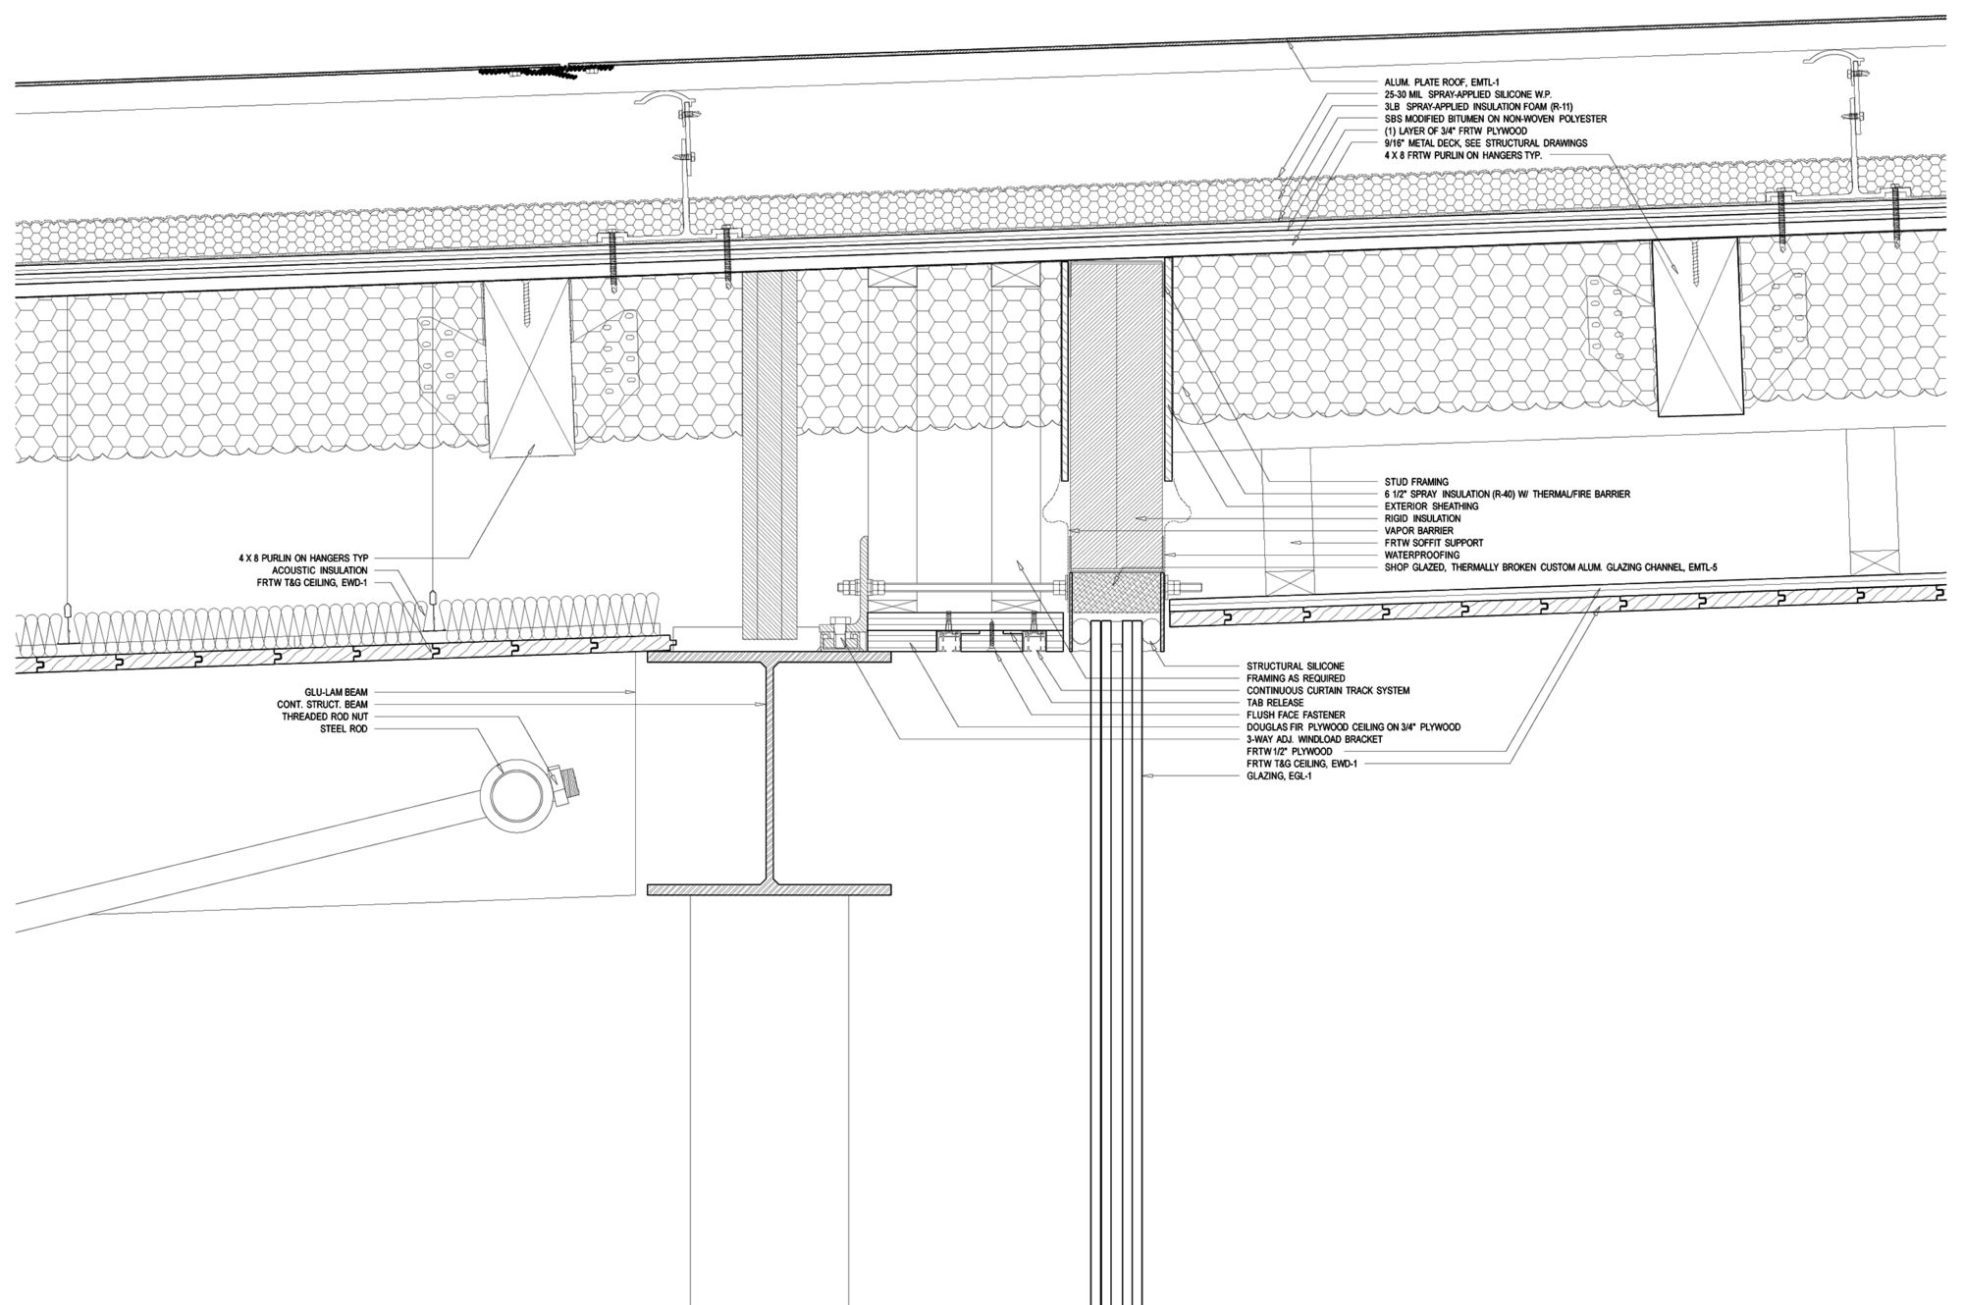
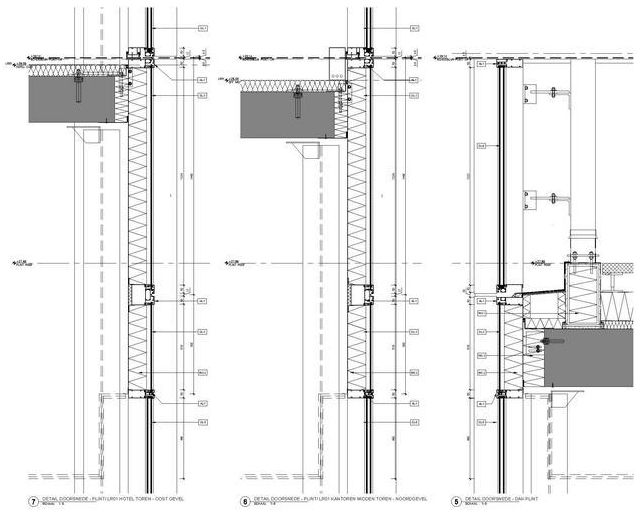
Not sure where to begin? Look to what’s already built. From extruded brick patterns to glazed facades, there is a good chance your detail has been built before, or something similar exists. If you work in an office that has a portfolio of built work, look at previous projects and learn from existing details.
Remember to consider local climate and site conditions, as details are often specific to local building knowledge, materials and traditions. Remember that studying precedents can also help you to look at a detail drawing in an entirely new way; you could look at glazed façades and get ideas on how to better arrange brick patterns. It’s a matter of curiosity and perspective.
 ,
, 
2. Research How Materials Connect to One Another
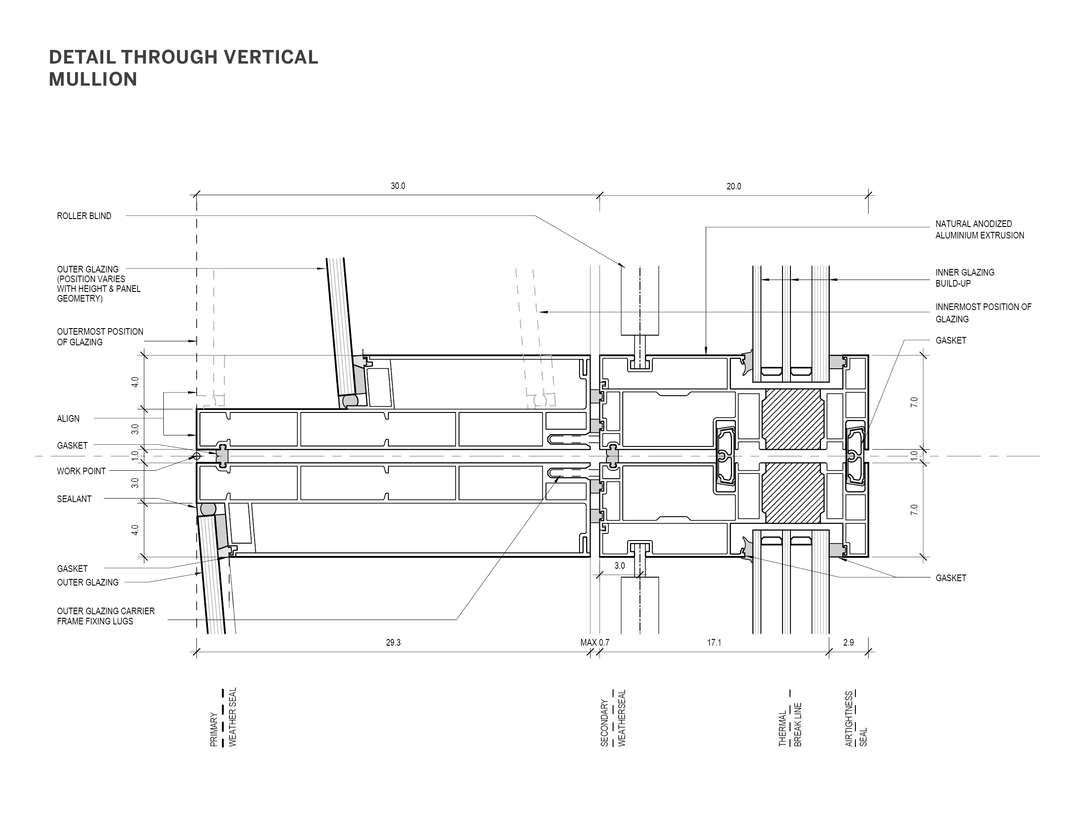
As you look at existing precedents, don’t forget to consider the actual materials themselves that you are working with. Brick, wood, stone, metal- they are all assembled in specific ways to protect health and safety, as well as mitigate environmental conditions. If you research how different materials connect, you’ll have a better understanding how to draw those connections.
Sometimes architects use simple mockups, but you can also consult with manufacturers, builders and engineers. Ask for help when something doesn’t make sense, and try to visualize the connection that’s being made. This step is important, as some materials will not connect easily to one another, and it may be dangerous or costly to do so.
 ,
, 
3. Learn different wall, ceiling and floor build ups
n detailing, you will often work on connections between three primary elements: the walls, ceilings and floors. Each of these elements have a series of configurations, including more common assemblies and materials that will be built up together. From more innovative building envelopes to structurally insulated panels, as you learn these different types, you’ll become more confident with what to draw.
Reference building codes and fire ratings, as well as more sustainable build ups and issues like noise transfer. Materials will respond differently; you can look to wall section drawings to begin understanding the construction sequence and structural implications. It’s also useful to reference specifications and how they shape the building process.
 ,
, 
4. Master line weights
As drawings are prepared for construction, line weights are paramount. It’s important to understand how architectural details are read, and whether you’re working on a BIM model or putting drawings together by hand, there are a range of drawing techniques to consider.
Heavier line weights usually denote what is being cut or the perimeter of something, while lighter line weights can imply something beyond, above or below. Line weights can define, outline, highlight and capture attention. A diversity of line styles and weights allows you to distinguish depth and emphasize different parts of a drawing. A drawing can quickly read as flat when only a single type of line is used.
 ,
, 
5. Red line your own drawings
Try to learn from your work, including your mistakes. Redlines are drawings that have been printed, reviewed and marked up with errors, changes and revisions. Realize that your drawings will never be perfect, and when you’re the only set of eyes reviewing a detail, you may missing important elements.
Before asking for others to review the details you’ve drawn, attempt to red line your own drawings first — you’ll be surprised how much you can learn this way. Keep looking for ways to make your work more clear, readable, and informative.
